Connectors
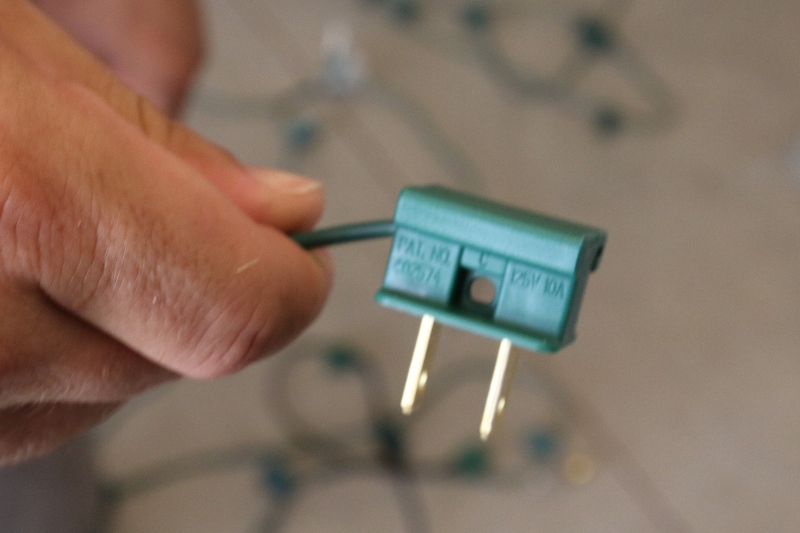
Connectors can be installed on the C9 Cord to create custom light stringers and on the lamp wire to create custom length extension cords.
SPT1 connectors must be used with SPT1 cord. These connectors are rated for 8 amps, just like the C9 Cord.
Step-by-Step Installation Instructions
The installation procedure for both male and female connectors are the same. While multiple female connectors can be installed on a line, remember that only one male connector should be attached to the cord!
- Cut and seal the wires.

- Align the lettering of the lamp cord on the same side of the lettering on the connector. If no lettering is on the cord, align the side without the rib along the opposite side of the lettering on the connector.

- Place the wire over the connector and hold with thumb.

- Notice the two different ends on the connector cap. The end without the block slides on first over the connector.

- Slide the cap onto the connector.

- The connector has been installed.

Installing In-Line Female Connectors
Multiple female connectors can be installed on a single lamp cord or light stringer. To do so, the female connector must be slightly modified to fit over the cord.
- Identify the back of the female connector.

- Using a pair of needle-nose pliers, remove this back to match the front.

- The front and back of the connector should look similiar.

- Align the lettering of the lamp cord with the lettering on the connector.

- The slanted side of the cap should slide over the unmodified side of the connector.

- Slide the cap over the connector


 Commercial Grade Mini Lights (5mm) @ $5.00 / strand