Railings
Difficulty: Easy
Time Needed: 20 Minutes
Recommended Lights: Mini Lights, Garland, or C9 Lights
Decorating Fences and Railings
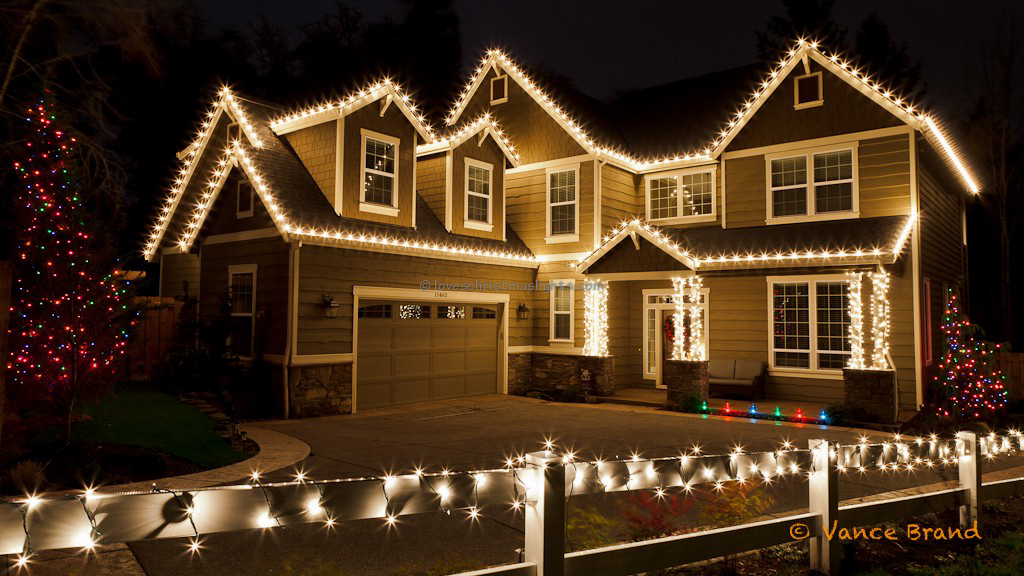
Fences and railings can be decorated with mini lights, garland, or C9 lights. Choose a light that matches the desired style and fits within the budget.
Step-by-Step Instructions
- Start with the male connector closest to the power supply.

- Use a cable tie to secure the mini lights to the fence. Cut the tail of the cable tie off.

- Attach the mini lights every three feet or so. Keep the lights taught to prevent them from drooping.

- If the stringer is long enough, decorate the front post.

- Overlap the remaining slack, or bundle and conceal with electrical tape.

Instructions for C9 Lights
- As always, start with the male connector closest to the power supply. ![Male Connector at Beginning]()
- Use a cable tie to secure the light cord to the railing. Cut off excess cable tie. One tie per bulb is sufficient.

- Attach every bulb with the cable tie.

- Terminate the end of the stringer at the end of the fence and secure with an additional tie.

Instructions for Garland
- Begin with the male connector at the start of the fence nearest the power source.

- Secure the garland to the fence by twisting the branches together.

- Attach the other end of the garland six feet away from the starting point.

- Attach the middle of the garland to the fence between the beginning and the end. This will create two equal-sized swags.

- Continue hanging garland on the fence.

- The remaining garland can be wrapped down the front post, doubled-up along the prior swag, or cut off. If cutting, the mini lights must be removed from the garland and added to the remaining segment.

- Alternately, the garland can be installed straight along the top of the fence without any swag.

Additional Notes
- If installing on swinging gates, be sure to stop installing at the break otherwise the gate cannot open.
- If using garland, make sure each swag is uniformly spaced and has the same height.


 Commercial Grade Mini Lights (5mm) @ $5.00 / strand