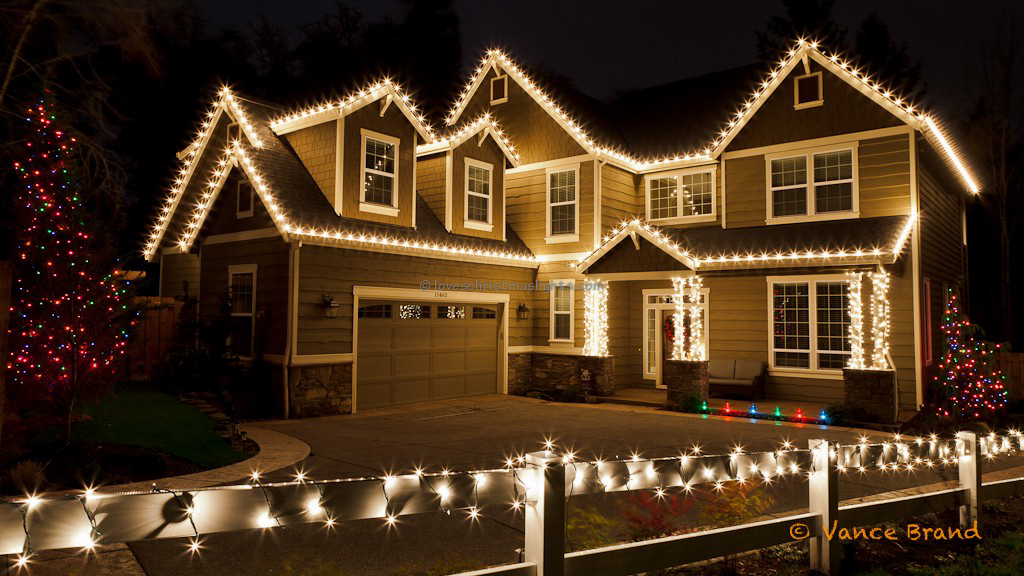
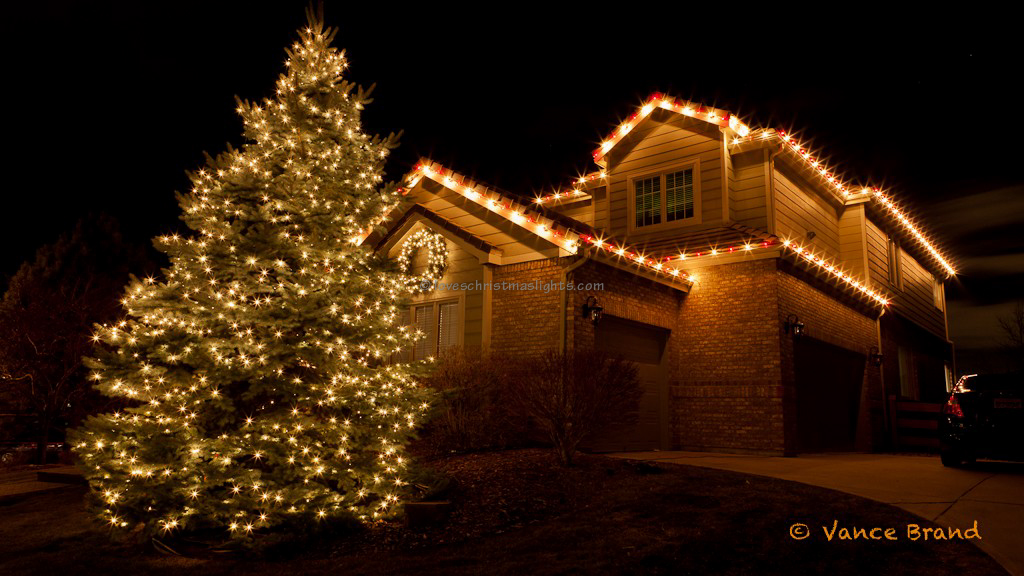
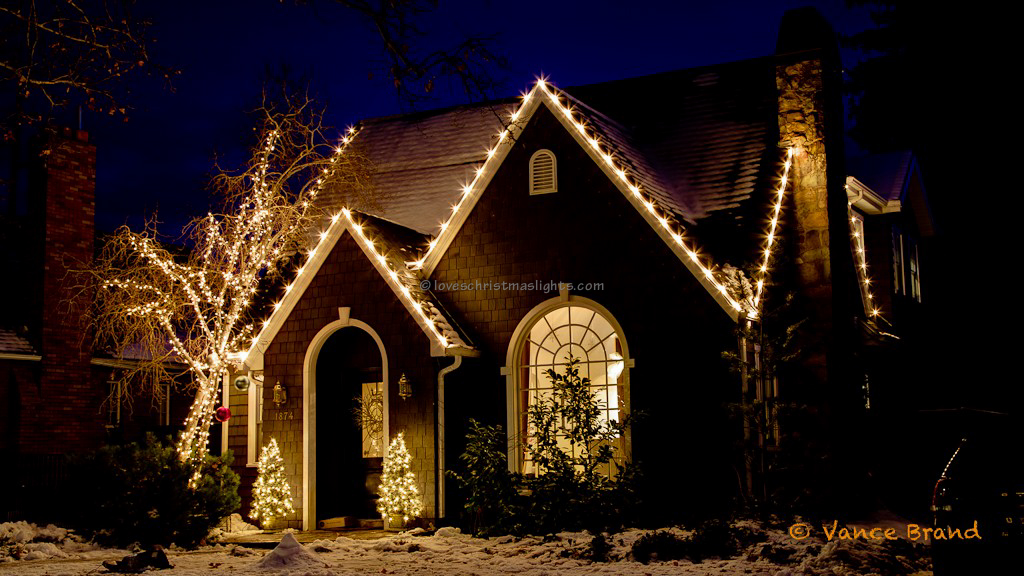
Hanging Christmas Lights on The Eaves
Difficulty: Difficult
Time Needed: 4+ hours
Recommended Lights: C9 Lights
Installing Christmas lights on the front eaves of the home is a more involved process which has been broken down into the following steps: 1) Draw an installation map, 2) Run extension cord, 3) Create the light stringers, 4) Attach the lights. Each step has been detailed below.
Drawing Maps
Begin the installation by drawing a map of the eaves and gutters. This map will help determine where the lights will be installed, where extension cord will be ran, and roughly how many lights and clips will be installed on each stringer.
Running Power
Begin the installation by finding the power source. Eave plugs should be used if available, otherwise an extension cord should be ran to a downspout located near the center of the home. Starting the power from the center of the home will help ensure there are not too many Christmas lights plugged into a single connector. If the home has less than 125 C9 incandescent bulbs, power can be made available anywhere.
Running the Main Extension Cord
Starting at the top of the downspout with the female end of the extension cord, drop the cord to the ground, and tuck the extension cord behind the gutter so that it will not fall out and create an eyesore. Do not tie or zip-tie this cord to the downspout or gutter brackets as it will make removal difficult after the season.
A grounded triple tap should then be installed directly at the top of the downspout. Ensure this triple tap, and any other connections, are not resting inside of the gutter as they have a tendency to fill with water and will cause the GFCI to trip resulting in an outage.
Lay the extension cord along the house out of the way and hidden as much as reasonably possible. Do not place extension cords where someone may trip over it. Try to utilize a downspout that is located on the same side of the front door as the power receptacle. If a foot-traffic path must be crossed, hot glue the cord under a step or hide the cord under the doormat. Coil the extra cord up neatly underneath the downspout.
Running Lamp Cord
Custom-cut lamp wire can be used to connect separate light stringers together. These cords should be cut to length with no more than one foot of slack. Hide these cords as much as possible by tucking them under shingles or in the valleys of the rooftop. Exposed cords are an eyesore and will result in a haphazardly looking display. Use a lamp cord color that matches the home or roof.
Lamp cord can be plugged in-line to other C9 stringers to avoid over-use of cords. Refer to the guide on running extension cords for more hints and directions.
Creating Stringers
Stringers can be assembled after an installation map has been created. Use the map to determine the footage of the stringer. It is recommended not to cut the C9 cord until the exact length has been determined. The only sure way to do this is to install the stringer on the home then cut where the lights should terminate. Cutting the stringer too short results in extra use of connectors which costs money and creates a sub-par display. The stringers are not custom-cut if they have been coupled together with unnecessary connectors.
Begin the stringer with a male connector. Only install one male connector per stringer. Attach the respective number of gutter clips and shingle tabs as determined by the installation map. Remember, gutter clips are installed on the gutters, and shingle tabs are installed on the peaks. If preferred, gutter clips can also be installed on the shingles, though the bulb will be facing upwards. Take notice to which side of the light cord the clip should be attached. Looking at the house with the light bulb facing away from the home and the male connector on the side of the power source, clips should be installed underneath the socket.
In-line female connectors may be installed during the actual installation.
When cutting stringers, cut the cord at the socket base leaving a long lead. This allows the male to reach the female connector without sacrificing the consistent spacing between bulbs. If plugging the cord directly into another extension cord, a lead of 6" to 7.5" will be sufficient. Always seal the ends of the cord when it has been cut.
Attaching C9 Lights
There are a few methods of attaching C9 stringers to the house; either with the plastic clips, by under mounting the lights using the socket clip, or by stapling the lights to the house. The way that the lights are attached differs depending on the type of soffit, gutter guards, and where the lights are installed. Regardless of the attachment method, the basic principles are the same.
- Start with the male connector closest to the power supply. Leave at least a 12 inch lead on this male connector whenever plugging the light stringer into a triple tap or into another light stringer. This extra slack will allow the bulbs to be placed on the home where necessary and have some room to make the connection with the male plug.

- Maintain consistent spacing between bulbs. Keep the cord tight. Avoid having slack between bulbs, unless necessary due to gutter hangers or splash guards.

- Follow the outline of the eaves and gutters. Do not cut corners. The cord should always be parallel to the gutter or roof line. In the following images, the top or left photos demonstrate the correct placing of bulbs. Pay attention to the cord.


- Be consistent and symmetrical. Decorate as much as the eaves and gutter as possible. Do not leave more than 12 inches of gutters or roof line exposed without lights on it. The lights need to look complete.

- Leave a long lead when plugging into other light cords or triple taps. This extra slack will allow the spacing to remain consistent.

- Leave a shorter lead when plugging directly into another lamp cord. There is no need to have the long 12" or 15" lead when plugging directly into an extension cord or lamp cord.

- Seal the end of the wire after cutting. Always secure the terminating wires to the socket clip to prevent them from being an eyesore or resting inside the gutter.

Attaching with Clips
After the stringers have been created, begin the installation on the upper stories of the home starting near the power source with a male connector. Lights installed on lower levels can become caught up with the stringers being installed on higher levels.
- To clip lights to a gutter, simply slide the gutter clips over the edge of the gutter, with the lights facing outward. Keep the light stringer tight and equally spaced between bulbs. Clip the bulbs so they are all facing straight.

- If clipping the lights to the peaks, slide the shingle tab between the shingles and roof, keeping the bulbs facing outward. Avoid clipping the lights under all the shingles; clip them between the shingles.

- Eyebrows require short four or five foot stringers that will plug into the main stringer. These eyebrow pieces should have a long lead and plug into an in-line female connector on the main stringer.

- Do not install shingle tabs in positions where the clip will be facing towards the ground as gravity will cause these clips to fall off. Use gutter clips instead. ![Side of Dormer]()
- When encountering splash guards, do not put lights on top of the guard as these will be on a different plane and look unprofessional. Put a bulb on each side of the splash guard even if the spacing between bulbs may become inconsistent.

Attaching with Staples
The lights may need to be stapled to the house if the gutters have leaf guards installed or if the home has a tile roof. Lights can be clipped to the tiles on peaks, but often times the lights will fall off. It is best to staple lights in this situation. Install the lights facing downwards if the gutters are covering the entire fascia at any point, otherwise light lights may be stapled below the gutter facing outwards.
Use the shortest staple possible that will still secure the lights. T50 staples between 6mm and 10mm are frequently used, but 8mm is the most popular size. Too short of a staple will not hold the lights while 10mm staples or longer may not come out of the wood and will make the removal process very difficult.
- Only one staple near the sockets are necessary to secure the stringer to the home.

- Run the cord in front of the downspouts.

- Follow the outline of the fascia.

- Follow the eyebrows, cut the cord, use an extension cord made of lamp wire, and continue installing lights on the peak.

- Lights may be attached with staples or clips on the peak. Staple to be consistent, but on steeper roofs, clipping may be easier.


 Commercial Grade Mini Lights (5mm) @ $5.00 / strand