Front Doors and Garage Doors
Difficulty: Easy
Time Needed: 15-20 Minutes
Recommended Lights: Mini Lights, C7, Garland
Decorate Doors with Christmas Lights
Outlining doors with Christmas lights is a great way to add more lights onto the house without breaking the budget or climbing high on a ladder. Front doors as well as garage doors can be outlined in mini lights, C9 stringers, or C7 stringers.
Decorating with Mini Lights
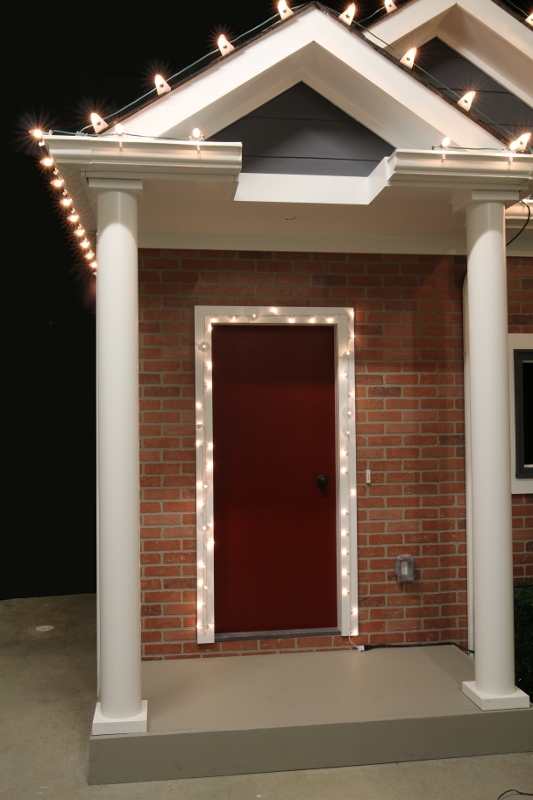
- Start with the male connector closest to the power supply and keep it off of the ground.

- Attach the lights to the outside of the door by either stapling or hot-gluing the lights to the frame.

- Keep the lights in a straight line parallel to the trim of the door. Here the lights were centered on the trim.

- The excess mini lights can be bundled up and wrapped in electrical tape or can be doubled up along the side of the door. Do not cut mini lights!

- The extra lights can also be doubled-up. Don't worry about the direction the mini lights are pointing.
Decorating with C7 or C9 Stringers
- Find the center of the door frame and start with one bulb at the center. This will ensure the lights along the sides of the door are on the same plane as each other.

- Attach the lights to the outside of the door by either stapling or hot-gluing each socket to the frame. The lights should be facing outwards and not towards they entrance.

- Keep the same spacing around the corners.

- Terminate the stringer by cutting the excess lights off.

- Place a male connector near the power supply and plug the lights in.

- All the lights should be straight and parallel with the door frame.

Decorating with Garland
- Hardware must be installed to secure the garland to the door frame. Screw eyes work best. The hardware should be installed at the top-center of the frame, the four corners, and halfway down the sides of the door frame.

- Drill starter holes into the frame to prevent cracking and for an easier start.

- Sink the screw eyes into the wood.

- Start hanging garland from the center screw eye and work towards the power source.
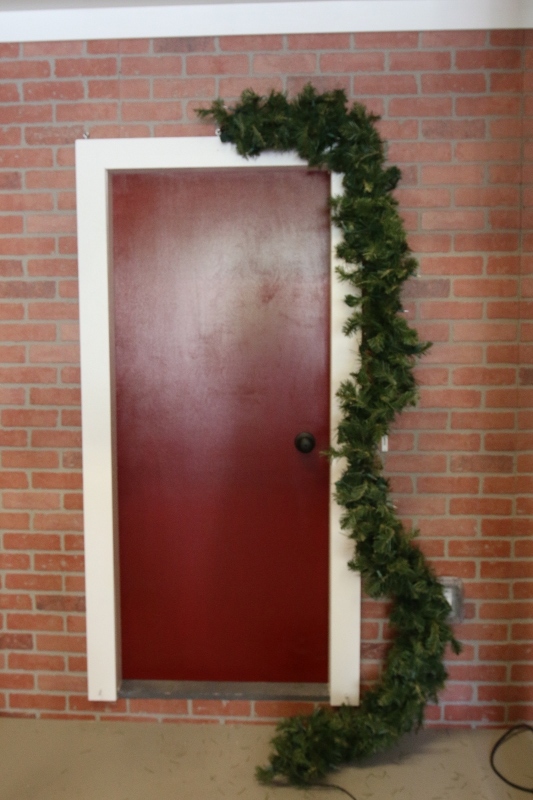
- Attach the garland to the screw eyes with cable ties or string.

- Excess garland can be doubled up or extend to the sides.


 Commercial Grade Mini Lights (5mm) @ $5.00 / strand