Pillars
Difficulty: Medium
Time Needed: 20 Minutes
Recommended Lights: Mini Lights or Garland
Wrapping Pillars
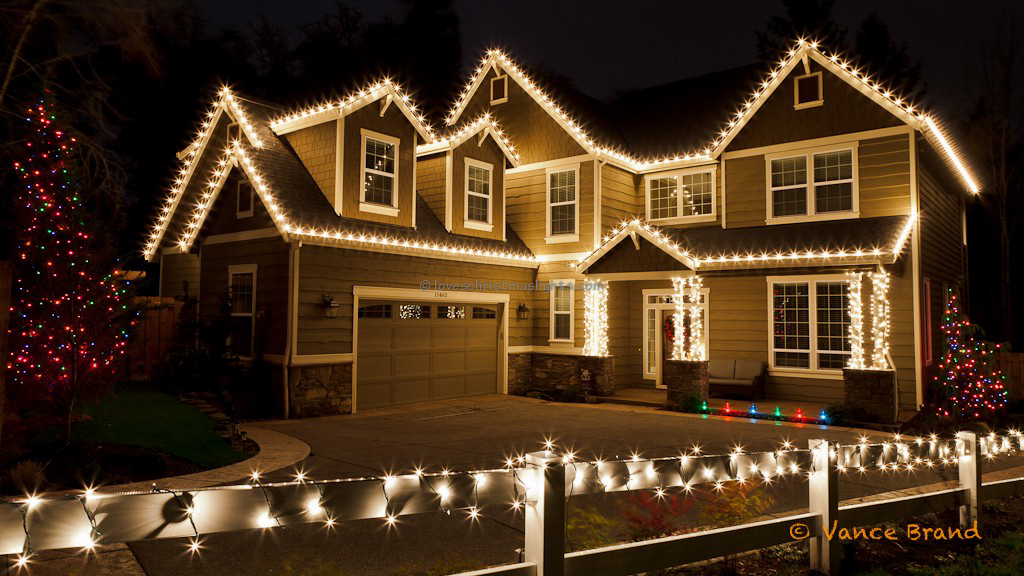
Decorating the pillars on front porches are a great way to add more lights to the display while drawing attention to the entrance. Pillars can either be wrapped in mini lights or garland, depending on the budget. As always, when decorating with Christmas lights, follow the rules of consistency, symmetry, and clean.
Step-by-Step Instructions
- Determine whether the power source will be at the top of the pillar or the bottom. Typically the pillar lights will plug into the C9 lights on the eaves, otherwise, a lamp cord can be run along the top of the pillars behind the fascia. Lights may also plug into lamp cord ran along the bottom of the pillars.

- Determine how many strands of lights will be used to decorate the pillar. Divide the height of the pillar by the number of strands desired. Use tape to mark these intervals on the pillar. When wrapping the pillar, each strand should stop at or near this mark, otherwise there will be extra lights or not enough lights for the final wrap.

- Secure the male connector to the pillar by stapling or by tucking the cord underneath the first wrap. If this connector isn't secure and moves, the wraps can loosen causing the lights to fall down.

- Make a full wrap around the top of the pillar before dropping the lights down the pillar.

- Wrap the pillar ensuring a consistent six to eight inch spacing between wraps. Be sure to keep tension on the light stringer or the wraps will fall downwards.
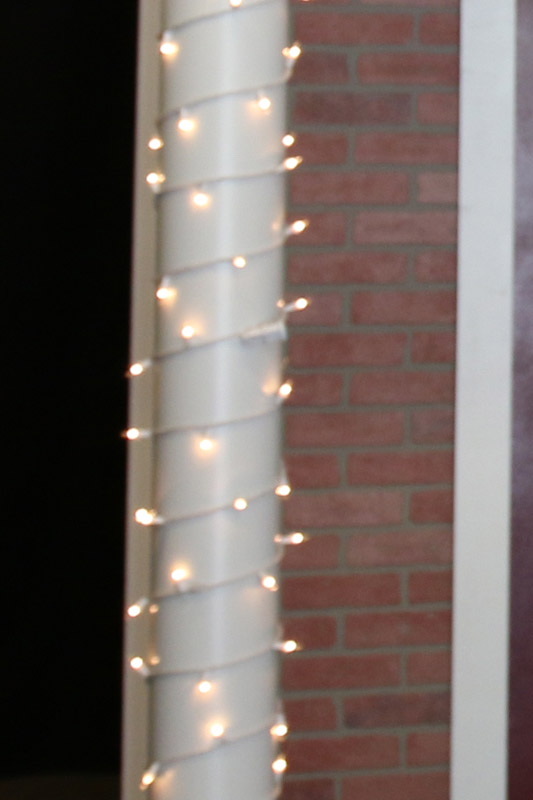
- Once reaching the mark made in a prior step, tie the next light stringer together and continue wrapping with even, consistent spacing.

- The final wrap should terminate at the bottom of the pillar. Just as with the first wrap, the last wrap should be parallel with the floor and completely circle the pillar. Secure the bottom connector so the lights will not loosen.
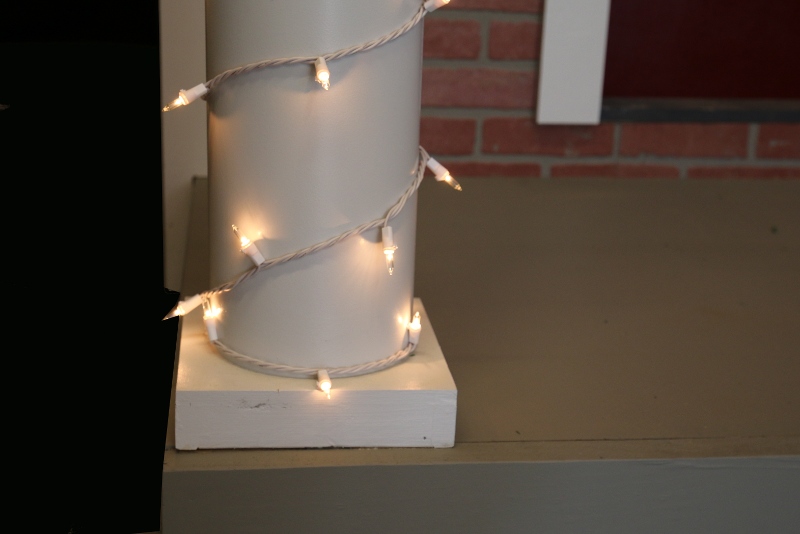
- Inspect the pillar when finished. All wraps should be parallel and evenly spaced. Slide any uneven wraps or or down.


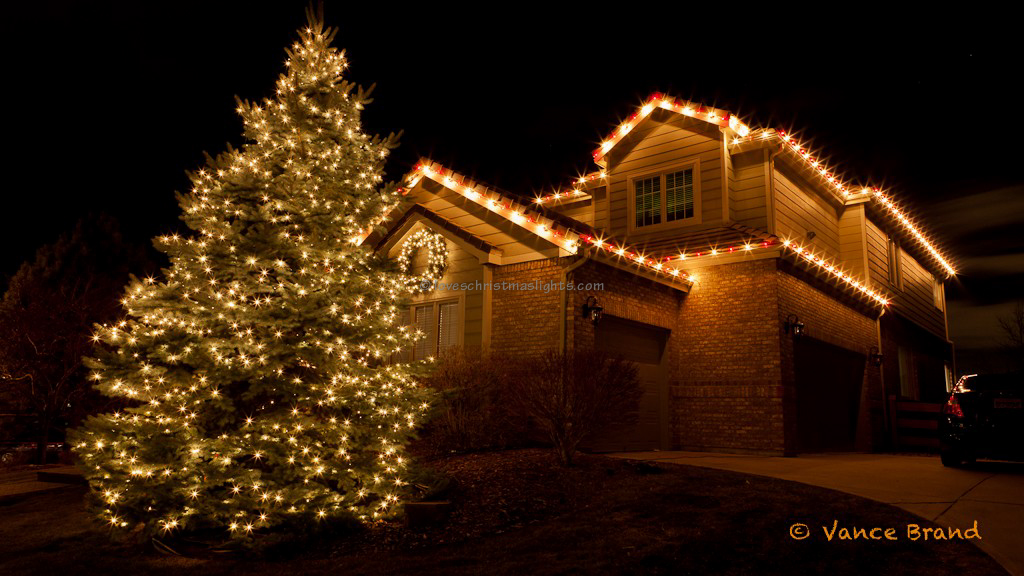
 Commercial Grade Mini Lights (5mm) @ $5.00 / strand