Leafy Deciduous Trees
Difficulty: Medium
Time Needed: 30 Minutes to 2 Hours
Recommended Lights: Mini Lights
Deciduous Trees
Deciduous trees are any trees that loose their leaves in the fall. Small to medium sized trees up to 15 feet in height are easy to decorate. Large deciduous trees take many strands of lights and may require special equipment to install. A tree that can be reached with a step ladder is much easier to decorate. Of course climbing into the tree may be required.
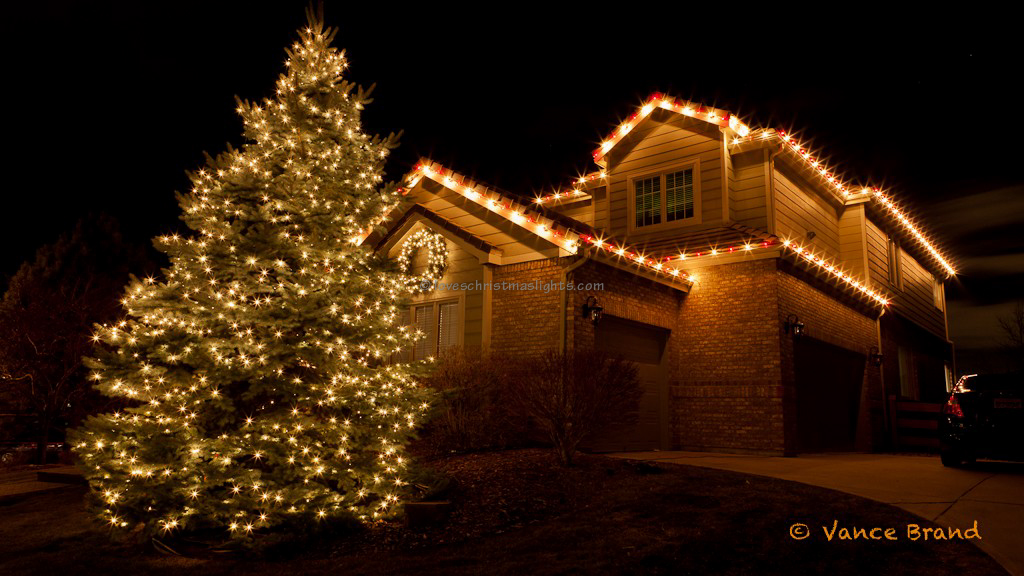
Not every single branch of the tree needs to be wrapped. Deciduous trees look best when one-half to two-thirds of the main branches are decorated. Decorating too many branches causes the tree to loose its shape and begins to look more like a ball of lights.
As with any Christmas lighting, be consistent and symmetrical. If a branch on one side of the tree is lit, another branch on the opposite side should be lit as well. There's no need to decorate to the ends of all the branches, especially if one particular branch is much longer than another. When completely decorated, the tree of light should be balanced.
Step-by-Step Instructions
- Wrap the mini light around the base of the tree securing the connection above the ground. Always keep connections off the ground. Avoid tying knots in the cord as they are difficult to remove. Wrapping the the mini lights over the lead should be fine.

- Keep a four to six inch spacing between wraps.

- Begin decorating the lowest branches and working towards the top of the tree.

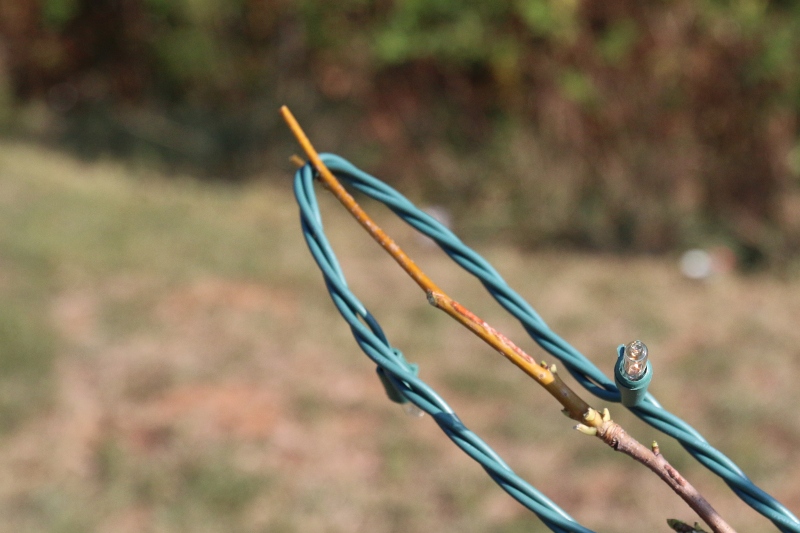
- Do not wrap the lights around the branches! Rather, hook the lights around the small twigs. This hooking method is much faster and easier for installation and removal.

- Hook the lights at the end of a branch and return to the base.

- Make a partial wrap around the base of the branches before working higher up the trunk. This will prevent the lights from loosening or being pulled off of the branch.

- Continue wrapping the trunk and hooking the branches.

- Repeat the process of hooking and returning for each branch.

- As always, make a habit of tying mini lights together. This will prevent the lights from accidently being unplugged and will make the removal process easier.

- Secure the female connector of the last strand to the tree, but do not tie any knots!

Additional Notes
- Only six incandescent mini lights can be plugged end-to-end. If more than six strands are required to decorate the tree, start each additional set of six lights at the trunk. Leave a 12 inch spacing between wraps on the first set of lights. The second set of lights will be wrapped between this first wrap. The end result will have a nice consistent wrap.
- Avoid overlapping lights that have already been installed in the tree, other than when returning from the end of the branch to the base of the branch.
- Keep the lights close to the trees and trunks. The light cord should not hang or droop from the branches.
- Do not jump from one branch to another. Return to the base of the branch and then proceed to the next branch.
- There is no need to decorate every branch. Just be consistent, symmetrical, and balanced.
- If the branch has no twigs for hooking, wrapping may be necessary.
- Do not zip tie lights to the tree or tie knots. Removing the lights will be very frustrating.


 Commercial Grade Mini Lights (5mm) @ $5.00 / strand